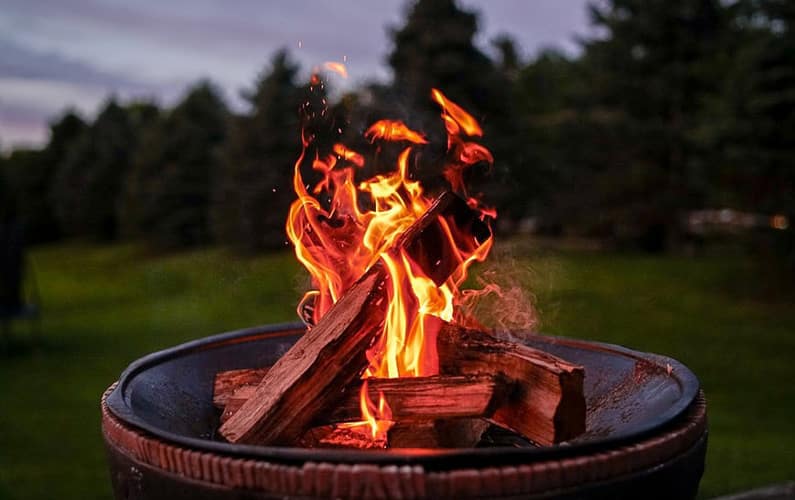
If you’re wondering how to light an outdoor fire pit, then you’re about to embark upon a fun, rewarding, and warm journey.
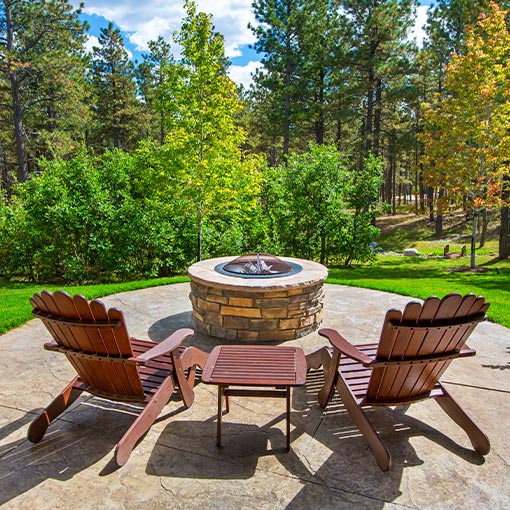
Fire pits are fantastic features that provide an outdoor source of warmth and comfort and instantly improve a home’s aesthetic value.
Ask any homeowner who owns one; they’ll likely tell you that some of their most cherished memories with family and friends came while relaxing around their outdoor fire pit.
But whether you’re using it for warmth, relaxation, or even cooking, you won’t be able to enjoy it if you don’t know how to start the fire properly. In this blog post, we’ll prepare you for many amazing nights in the backyard by detailing how to light a fire pit properly.
Outdoor Fire Pit Safety
Whenever you’re dealing with a fire, safety is the number one priority, no matter how big or small. So, before you attempt to light anything, you first need to learn and implement these fire pit safety tips to avoid damaging you, your home, or the people around you.
Follow these tips compiled from the National Fire Protection Association and Nationwide Insurance:
-
- Build and start the fire at least 10 feet from your home or combustibles.
- Pay close attention to the wind direction before starting it. Always avoid fire during windy conditions.
- Stay aware of the location of people and pets. Children and animals should stay 3 feet away at a minimum!
- NEVER use gasoline or toxic liquid products to start, maintain, or increase the fire. In the sections below, we will detail the appropriate kindling to use.
- Be prepared to put out the fire at a moment’s notice! Again, we will explain the best way to put one out in a later section.
Gathering the Materials
If you’ve ensured that your fire pit is safe and ready to go, we can begin gathering the following four fire-starting materials:
Fire Starter: The available fire-starting options are voluminous. For the most control and safety, we recommend long-handle lighters or long reach matches. Other options, such as torch lighters, are stronger and more effective, but classic matches and lighters will get the job done at a minimum cost.
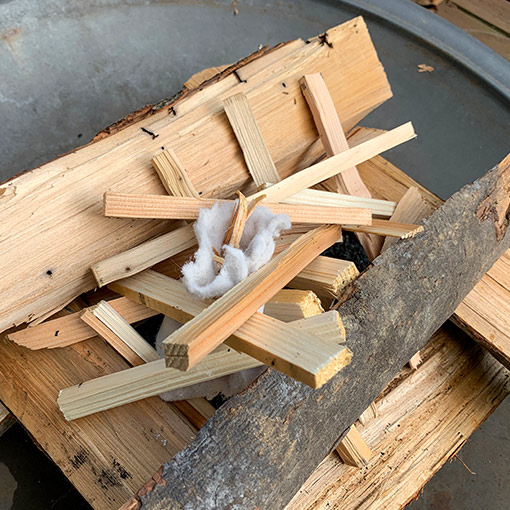
Tinder: No, we’re not talking about the dating app. Tinder is small, easily combustible material used to get an intense fire going. People commonly use dry leaves and grass, shaved bark, and pinecones as natural tinder options.
There are many types of Fire Starters! You can even use Dryer Lint as tinder to help your kindling and logs!
We strongly recommend wrapping leftover dryer lint around one of those options. Dryer lint is very easily combustible and will make your fire smell incredible!
Kindling: Kindling is essentially a larger version of tinder. The only difference is that kindling helps get the flames going AND helps maintain a robust and long-lasting fire. Very dry small sticks, fatwood, and pine and cedar bark are all effective kindling.
Firewood: For the most effective results, we recommend utilizing the upside-down fire building technique. You’ll need to gather 6 SPLIT and SEASONED logs from hardwood trees. Split and seasoned firewood will burn easier and more prolonged than round logs.
Position the Wood and Kindling
Once the appropriate materials are ready to go, you can begin the building process.
If you’ve ever started a fire before, then you know that it isn’t as easy as throwing logs on top of each other. As mentioned in the last section, the upside-down fire-building technique will yield the greatest results. Follow along with the pictures below to learn the proper positioning!
Step 1: Arrange a parallel set of logs with the bark facing down. This is the base of the fire, so you need to ensure that the logs are secure.
Step 2: Facing the opposite direction, place two more logs across the base log layer.
Step 3: Repeat step 1 on top of the second log layer. It works best when the bark faces the outside.
Step 4: Finally, in the middle part of the firewood stack, place your tinder and kindling inside the opening. As shown below, set the kindling in first, and stack it so that it’s touching the logs. Place the tinder and even more kindling on top. Then you’re done!
This technique not only works wonderfully in a fire pit, but in bonfires and fireplaces as well.
Lighting the Fire
Congratulations, you’ve reached the final step of the process! Your firewood is stacked correctly, and you’ve inserted an adequate amount of dry kindling and tinder.
All you’ll need to do is use your long-handled lighter or match to light the dryer lint.
It may take a minute or two to get going, but as seen in the video below, you’ll be thankful that you took these steps seriously. You now have a vibrant, warm, and long-lasting fire that even smells good!
How to Put Out a Fire Pit
Whether the party’s coming to an end or there’s an emergency, you need to know how to put out an outdoor fire pit.
In most cases, you can let the fire die down on its own. Once the flame has deceased, smother the warm embers with sand, leftover fire ash, or water. You may hear sizzling, but that’s normal.
With a non-combustible object, stir around the embers to ensure everything is submerged in sand, leftover ash, or water. You can always add more if necessary!
If you need to put out the fire immediately, these elements will work if used in abundance. But for the quickest results, there’s no beating a good old-fashioned fire extinguisher.
You need to take fires of any size seriously. So, before you start one, be sure you’re prepared to put out your outdoor fire pit!
How much does it cost to build a backyard fire pit?
Outdoor fire pits are natural focal points and memory makers for backyards everywhere. While many homeowners choose to buy a factory-built fire pit, others have a specific vision and are inspired to build one of their own! But the most critical question is, how much will it cost?
According to Home Advisor, the average cost to build a fire pit in 2021 is $700. But these projects also typically range from $300 to $1400. Home Advisor is factoring in materials and fuel type, but they also include labor costs.
There are many options for a DIY backyard fire pit for you to try, but hiring a contractor should be your first choice unless you have ample experience. They will ensure your fire pit is safe, beautiful, and lasts a lifetime.
Of course, if you’re not willing to spend that kind of cash, you can always purchase a factory-built one. There are TONS of attractive and effective options ranging from $25 to $300.
They won’t last as long due to rusting and other factors, but they’ll still work as a great addition to your backyard.
Summary
Outdoor fire pits are lovely additions to virtually any home, backyard, or anywhere, really.
Whether you’re building one that costs thousands or buying one for $30 at the department store, they all serve the same purpose. And that purpose is to act as a natural focal point for beauty, comfort, and memory-making with your loved ones.
But acquiring one is only the start. To fully enjoy its many benefits, you’ll need to know how to light a fire pit safely and effectively.
Luckily for you, we explained in this blog post how easy it is!
Now, get off your device, and go outside and relax around your fantastic fire pit.
Are you looking for unique and attractive fire pit ideas for your home? Check out our Pinterest board!
Check out some other posts from our blog…


